> For the complete documentation index, see [llms.txt](https://docs.digably.io/llms.txt). Markdown versions of documentation pages are available by appending `.md` to page URLs; this page is available as [Markdown](https://docs.digably.io/products/how-to-connect-paypal-payment-integration-in-digably.md).
# How To Connect PayPal Payment Integration In Digably
Learn how to connect PayPal payment integration in Digably with this easy-to-follow guide.
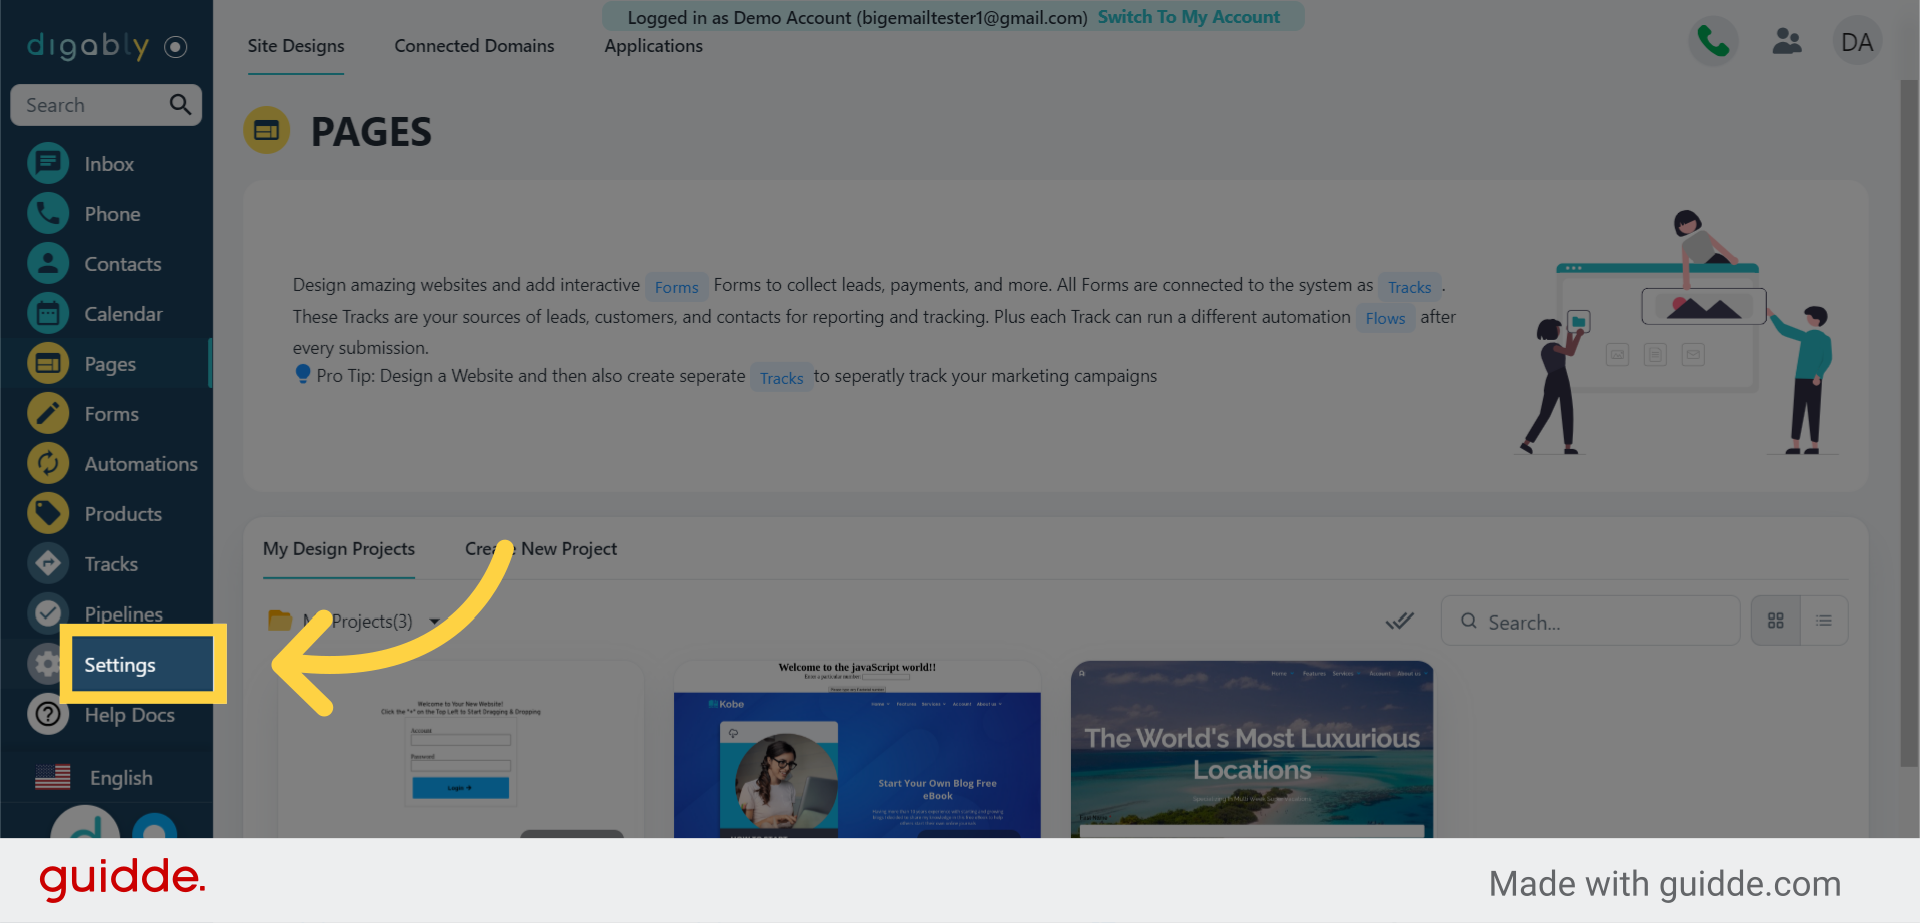
#### 1. Click "Settings"
First, navigate to the settings menu by clicking on the "Settings" option in the left side menu.
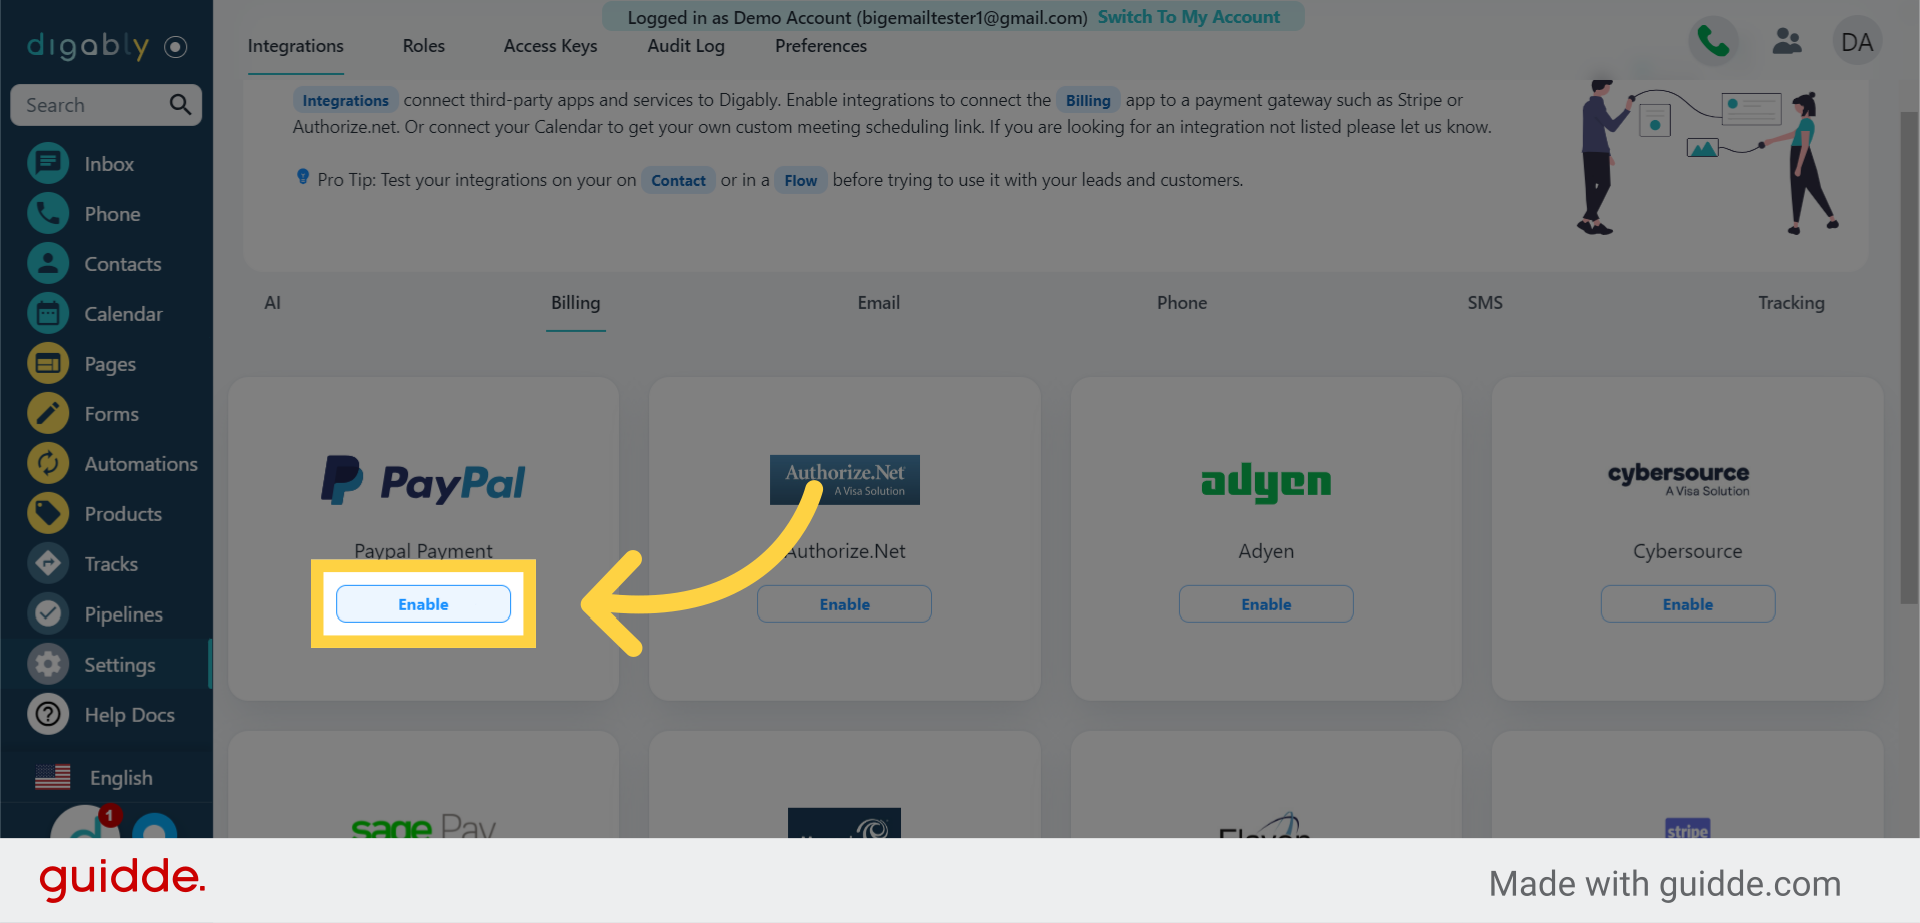
#### 2. Click "Enable"
Enable the PayPal payment integration by clicking on the "Enable" button.
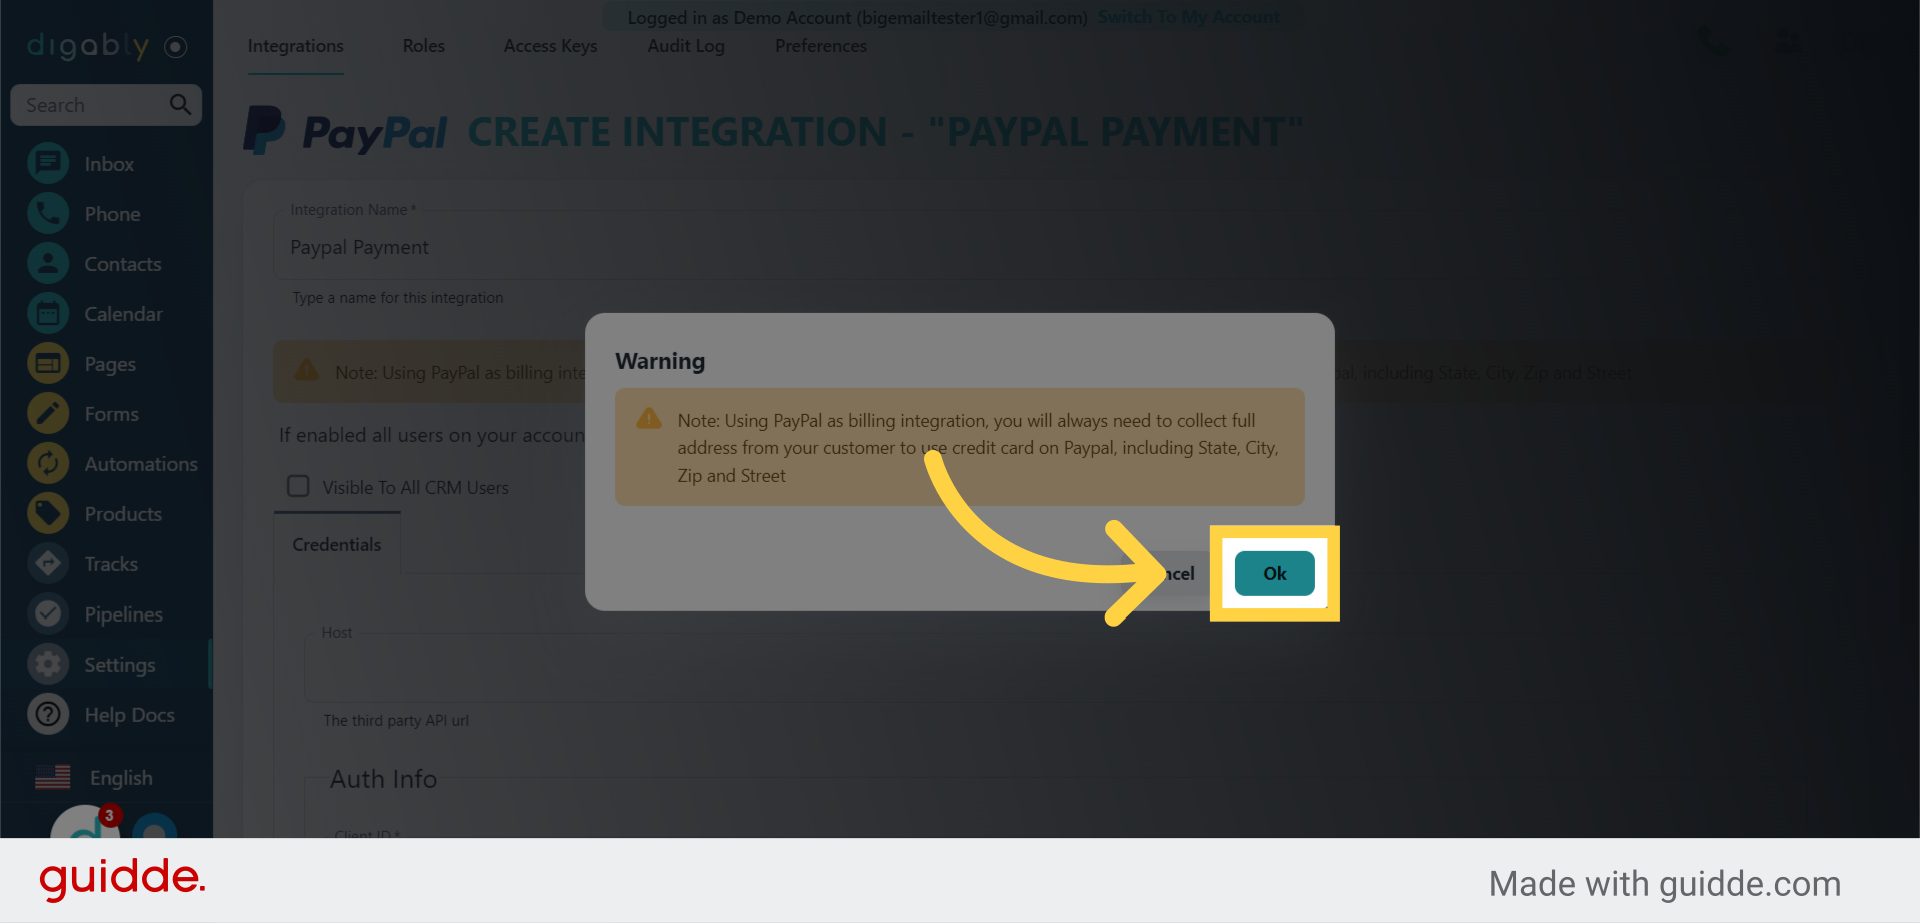
#### 3. Click "Ok"
Confirm that you understand what information will need to be collected if using PayPal for payments by clicking the "Ok" button.
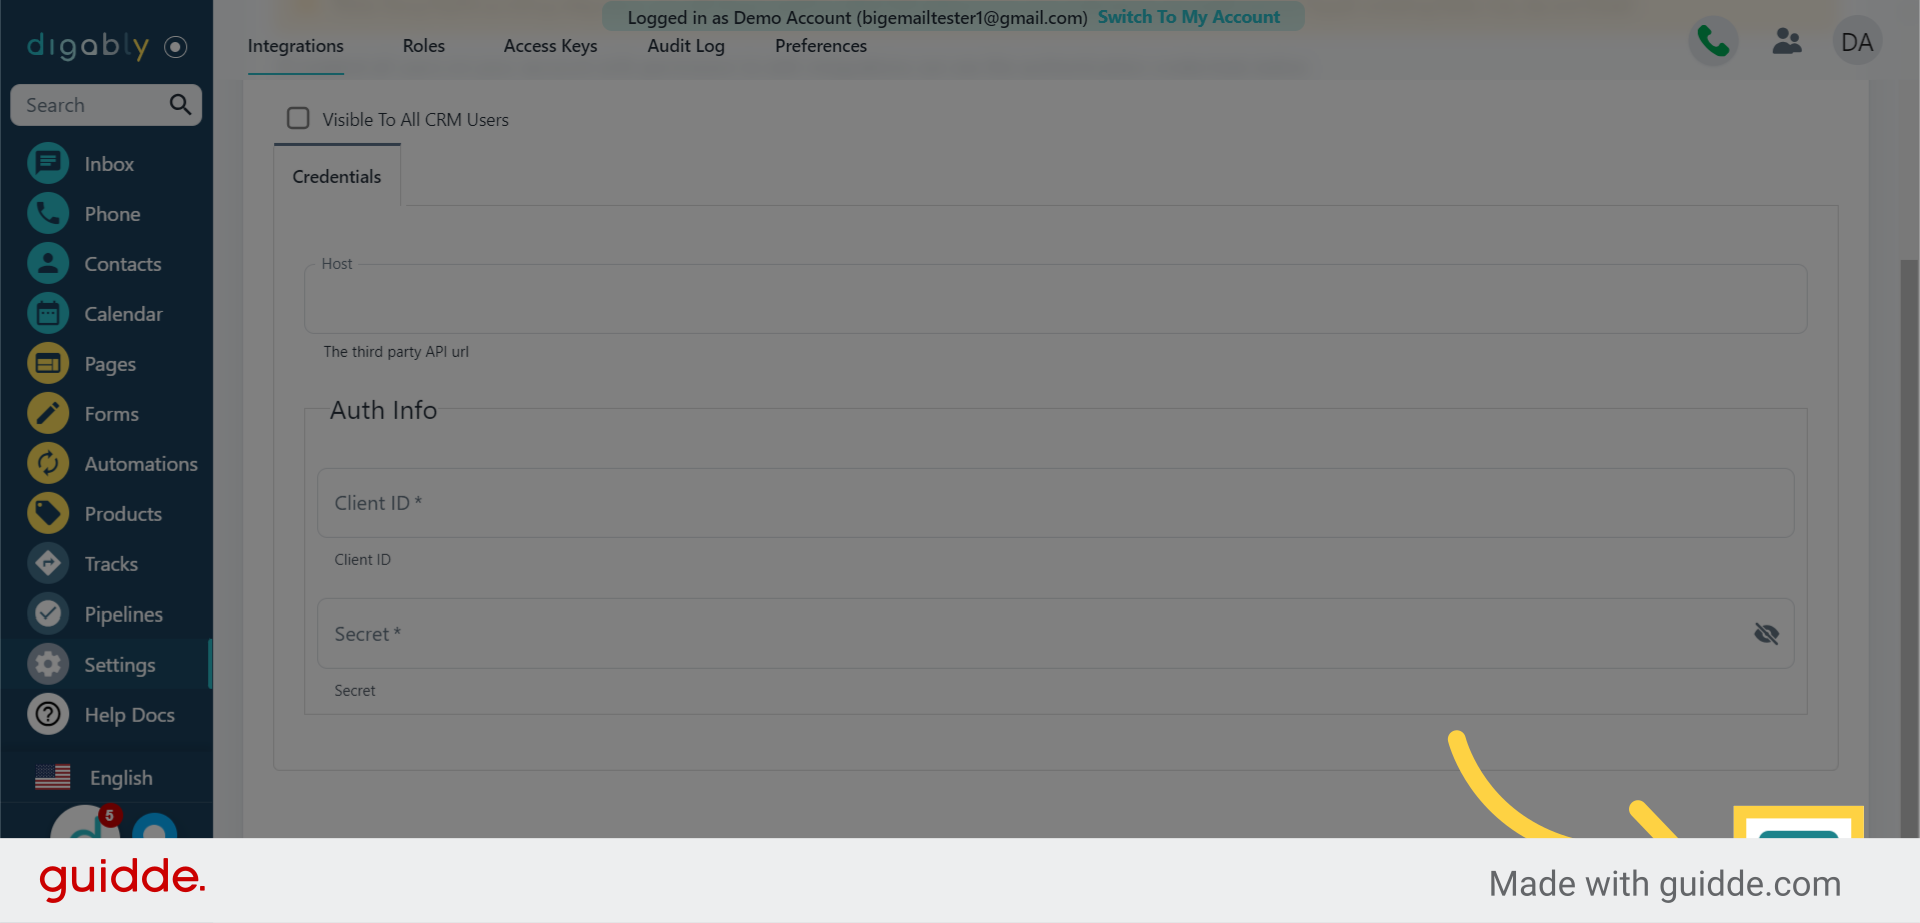
#### 4. Fill in the form fields
Now, fill in the form fields with the host URL, Client ID, and Secret key.
The host URL is ****
You will need to retrieve you Client ID and Secret key from your PayPal Developer Account. Let's look at how to do that next.
#### 5. Log into the PayPal Developer Dashboard at
Once you’re logged in, you’ll see lots of options on the developer homepage—but the first thing we want to look at is in the top right corner.
Make sure that the toggle between “Sandbox” and “Live” is set so that Sandbox mode is **on**.
A sandbox account allows you to make changes without impacting your PayPal account and app connections. Sandbox accounts also make it possible to test payments on e-commerce checkout pages without processing any real funds.
#### 6. Create a new app
Next, look at the menu bar that runs along the top of the developer dashboard. Click on “Apps & Credentials.” (It may appear as “My Apps & Credentials” on a mobile device). You should see a “Default Application” listed under “REST API apps.” You can ignore this.
Click on the blue “Create App” button to proceed. A short form will appear.
Start by assigning a PayPal app name. You may want to name it Digably, so you know what the app is for. This name will help you easily identify the right app if you need to retrieve your Client ID and Secret Key again in the future.
Next, indicate that you’ll be generating a Client ID and Secret Key for processing payments as a merchant. Then click the blue "Create App" button.
#### 7. Copy the Client ID and Secret Key
Congratulations! You’ve just finished generating your PayPal Client ID and Secret Key.
Look under “Sandbox API Credentials” and locate the field titled “Client ID.” You’ll see a long string of numbers and letters—this is what you’ll need to enter into Digably.
Directly beneath the “Client ID” field is another field titled “Secret.” In order to see the Secret Key, you’ll need to click “Show.” Copy this data to enter it into Digably.
#### 8. Enter the Client ID and Secret key into Digably and click "Save"
Enter the Client ID and Secret key into Digably and click "Save".
Remember to enter **** for the host URL.
{% hint style="info" %}
Make sure to use your keys in LIVE Mode (not sandbox) after you have finished testing payments in your Digably site.
{% endhint %}
{% hint style="info" %}
**Troubleshooting:** If you are having trouble connecting your Paypal integration following the steps in this guide, please try using LIVE Mode from the beginning. **(Use LIVE mode when generating your keys instead of Sandbox mode.)**
{% endhint %}